screenshots
Have a closer look at SyncGene
Synchronize Contacts, Calendars and Tasks
Share Calendar on any platform
Synchronize Contacts, Calendars and Tasks
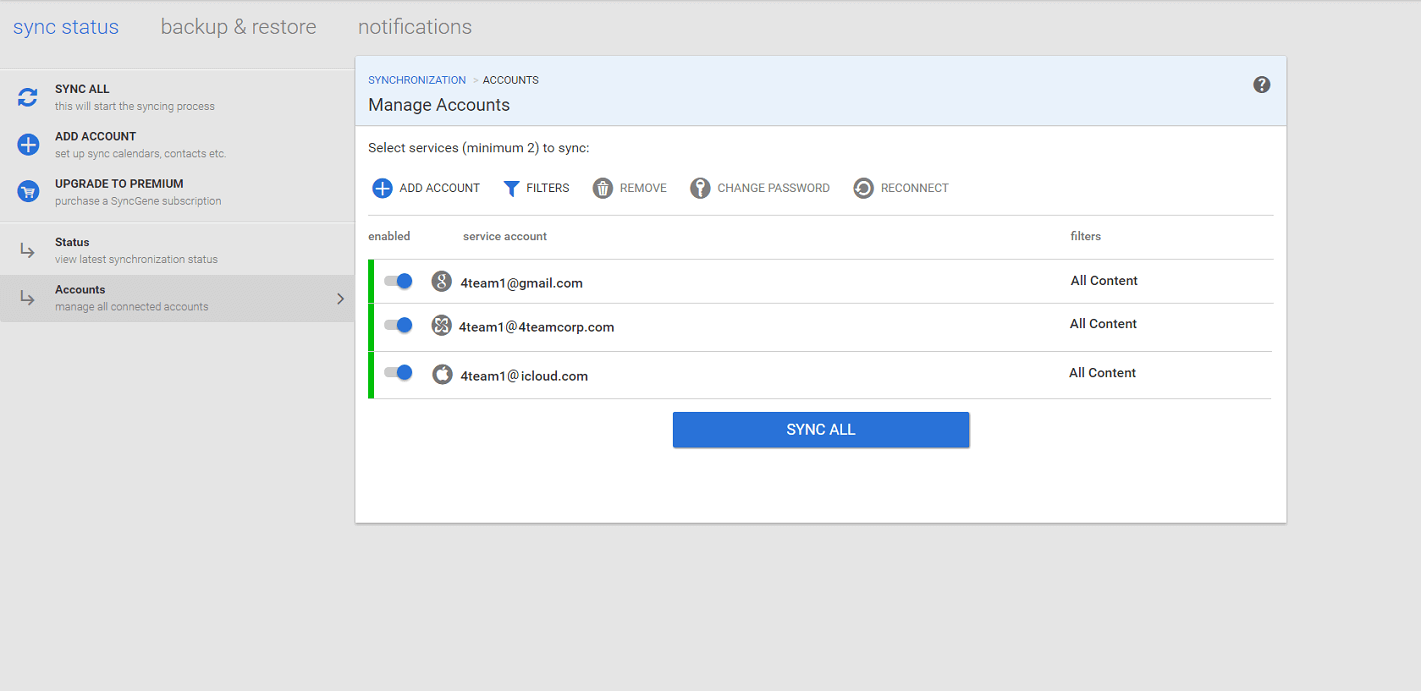
Accounts management
Add as many accounts as you want to synchronize. You can add your Google, Exchange or iCloud account.
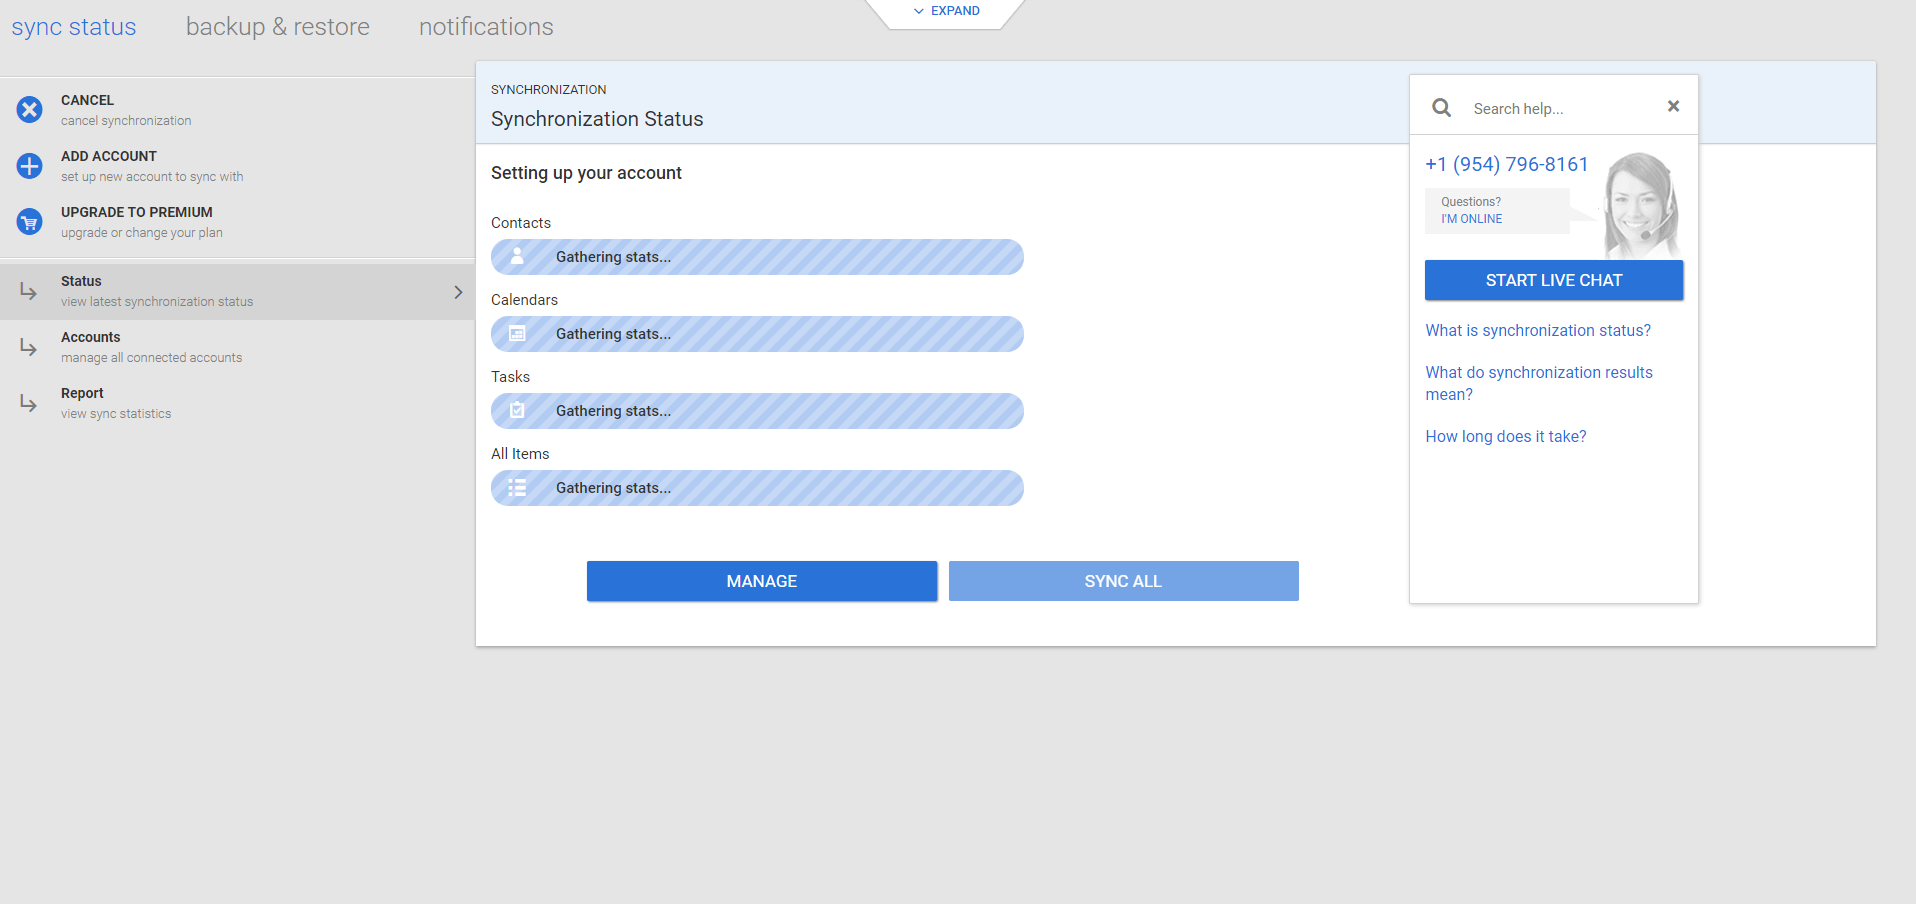
Setting up your account
After the accounts are added you can start synchronization. After synchronization is complete synchronization statistics will appear.
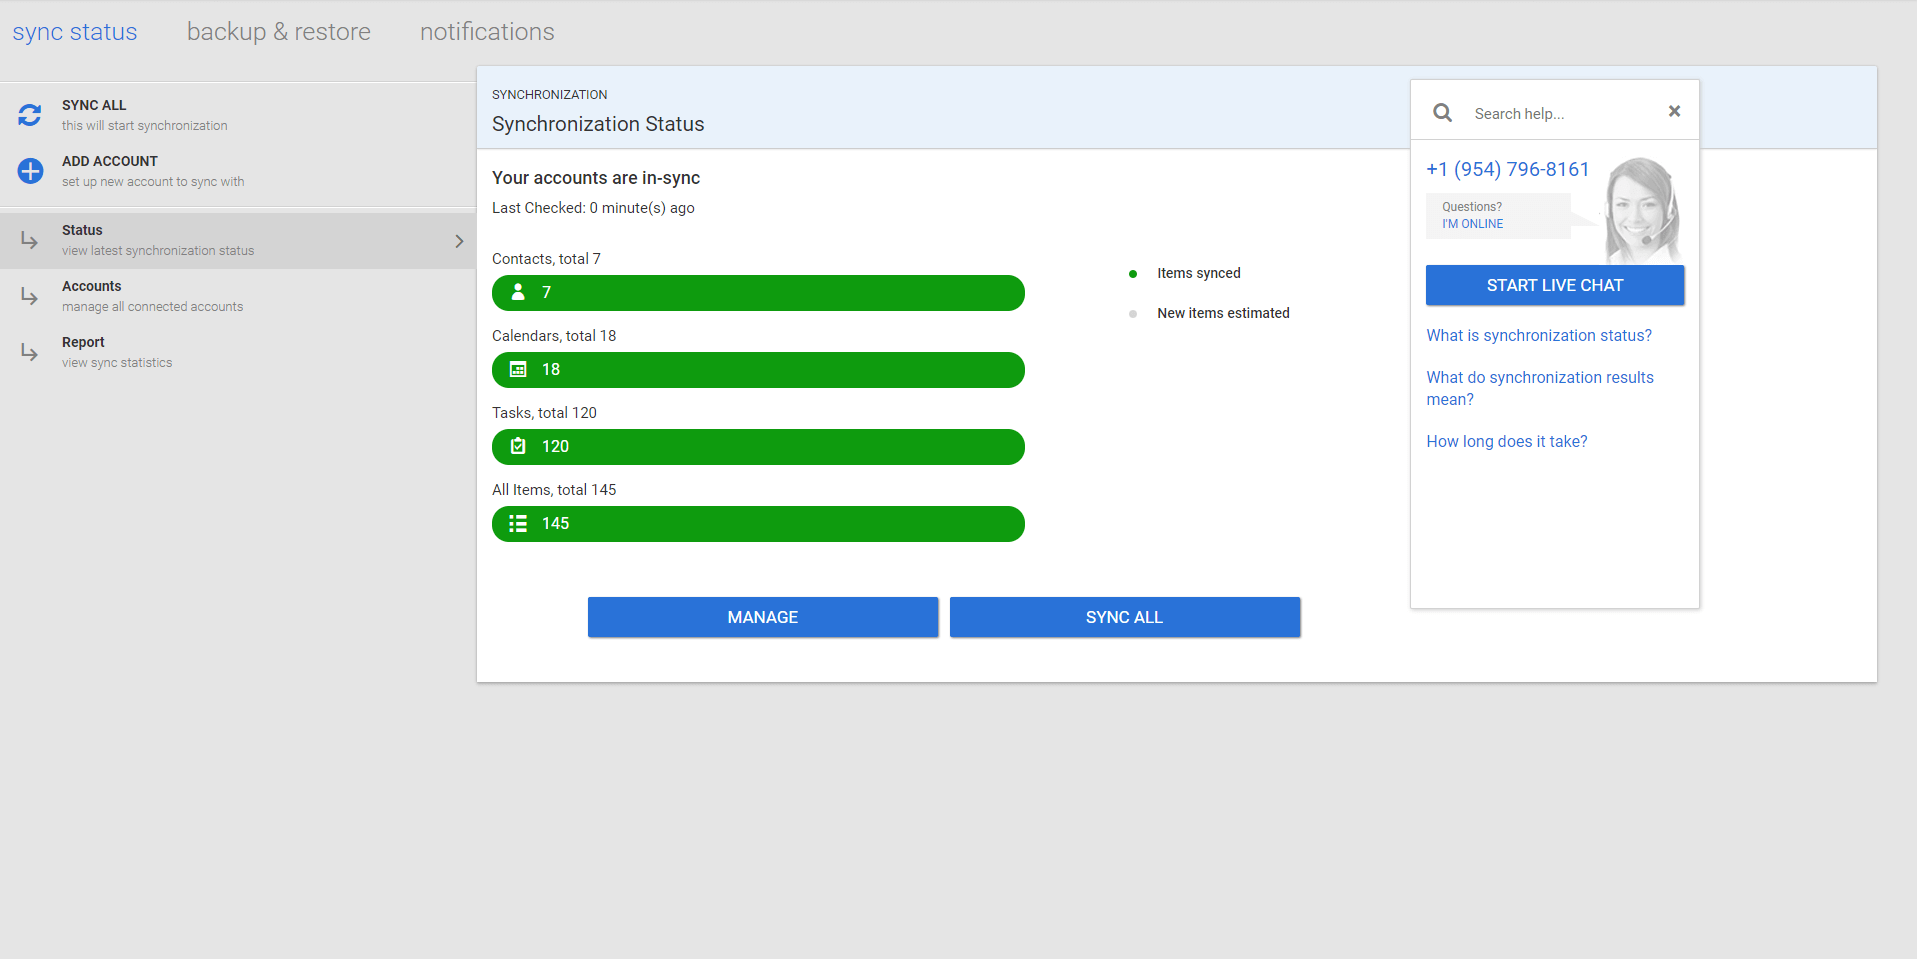
“Accounts are in-sync” status
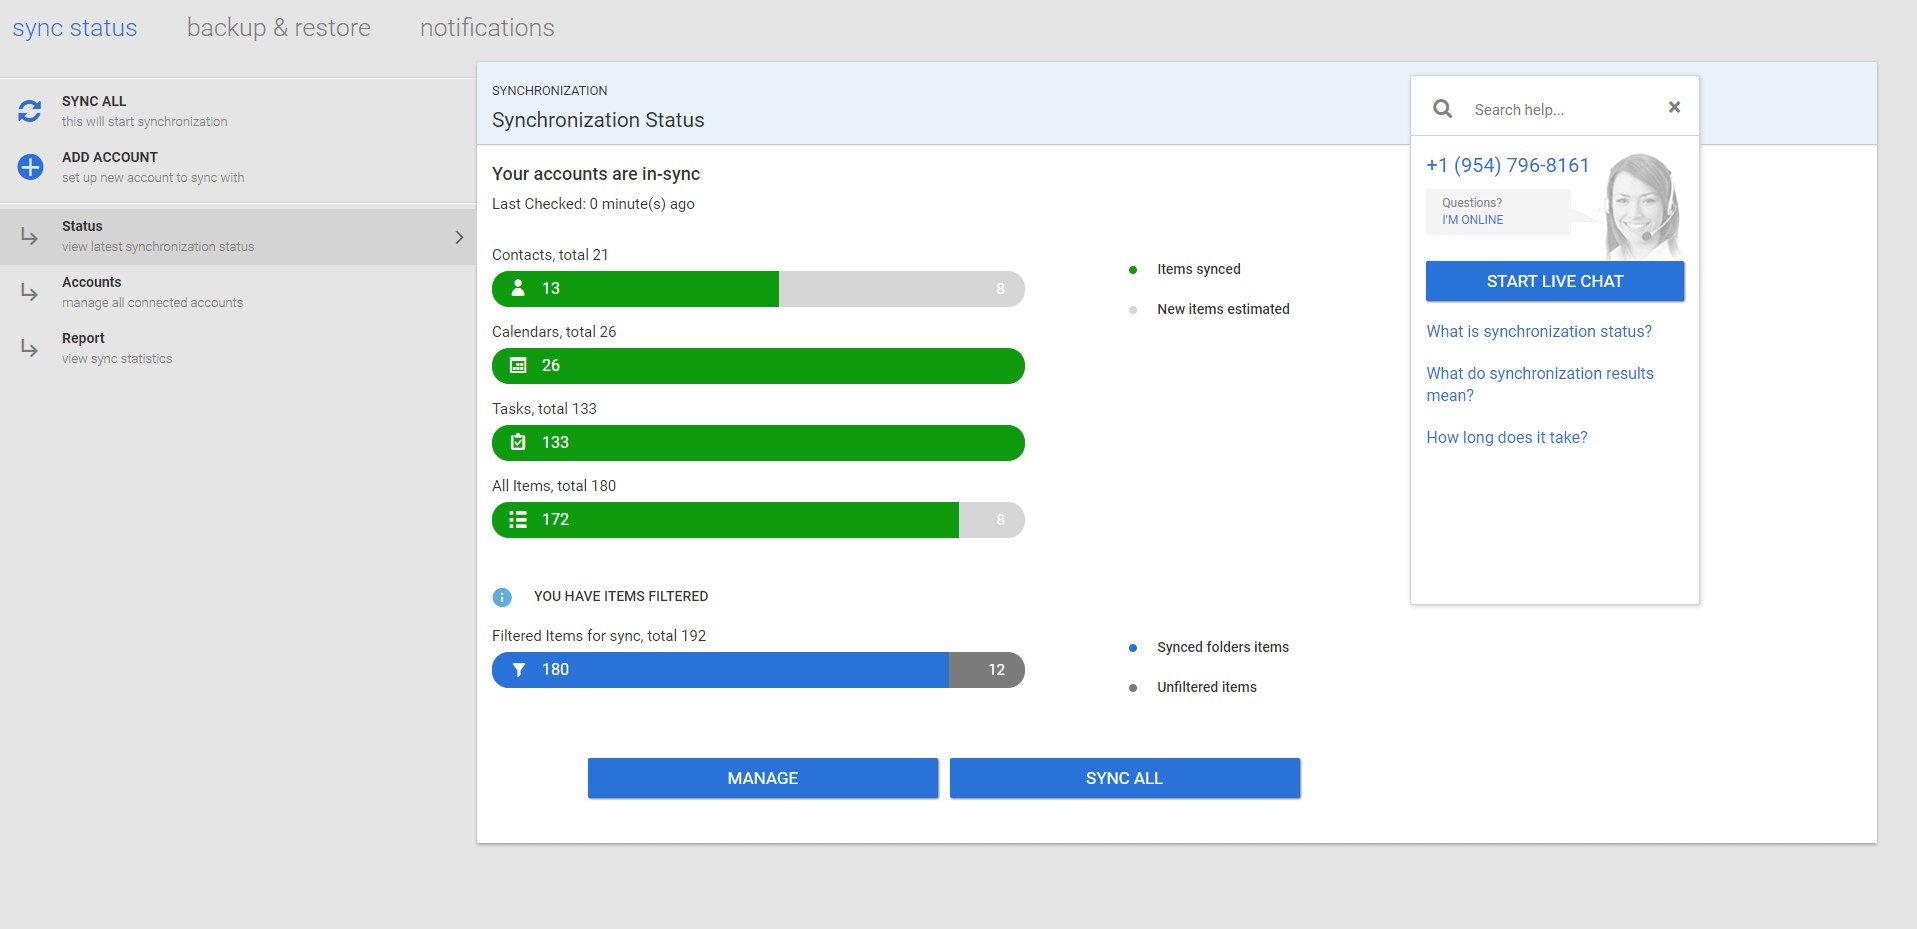
“Accounts are in-sync” status will appear if all items from Contacts, Calendars and Tasks folders were synchronized. Review how many contacts, calendar items or tasks were synchronized.
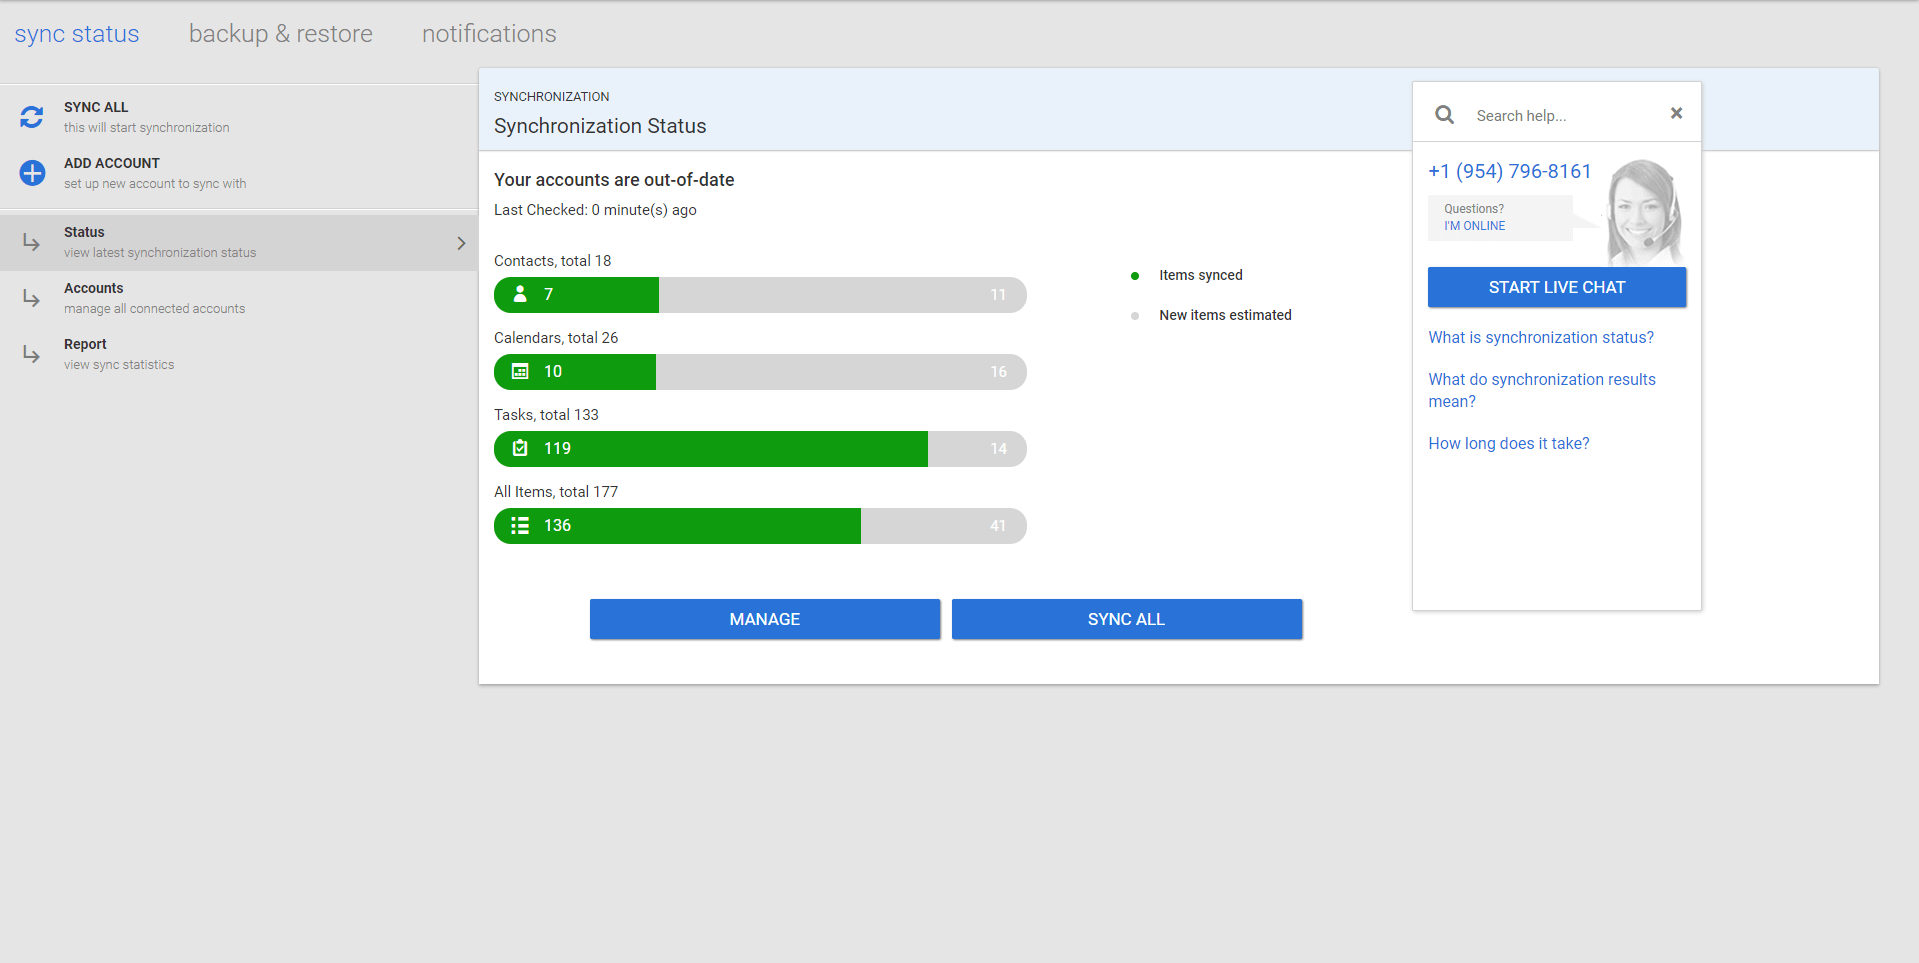
“Accounts are out-of-date” status
“Accounts are out-of-date” status will appear if there are new items from Contacts, Calendars and Tasks folders that are not synchronized. To synchronize new items, click “SYNC ALL”.
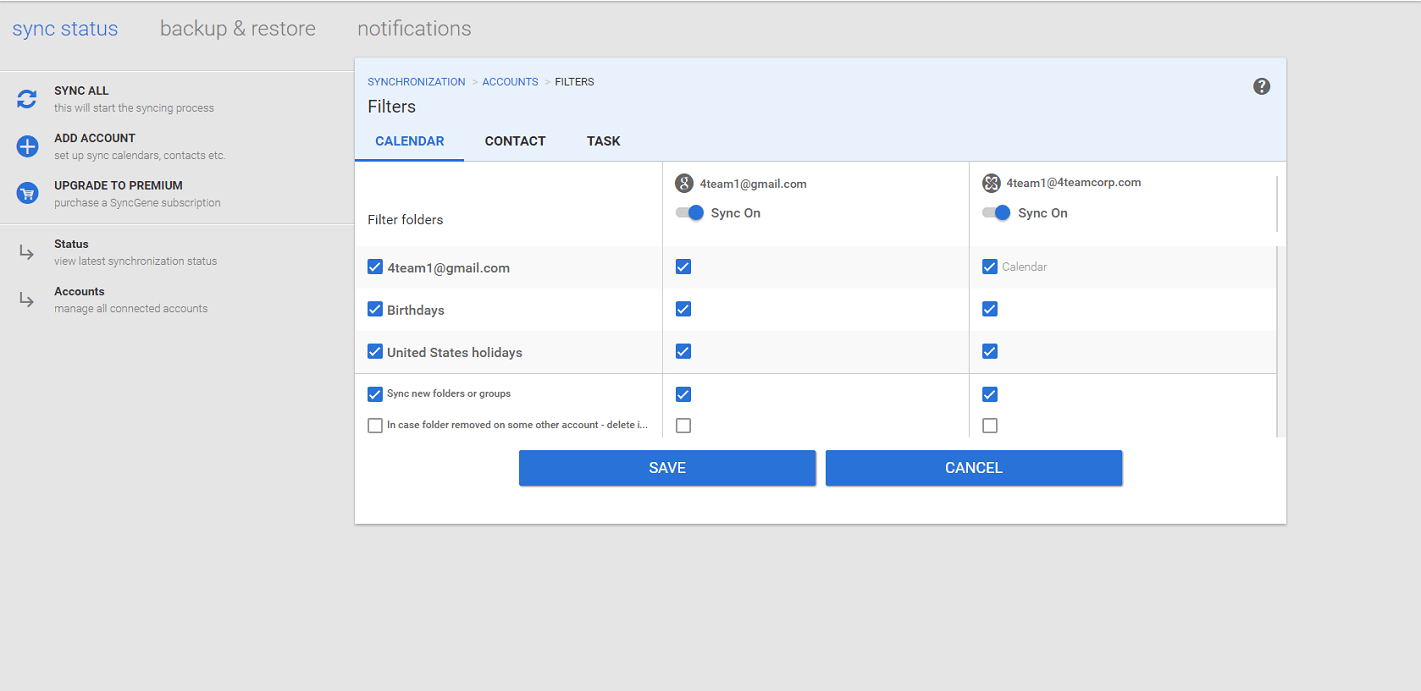
Synchronize calendars
In the Filters dialog select Calendars and choose which calendar folders you want to synchronize.
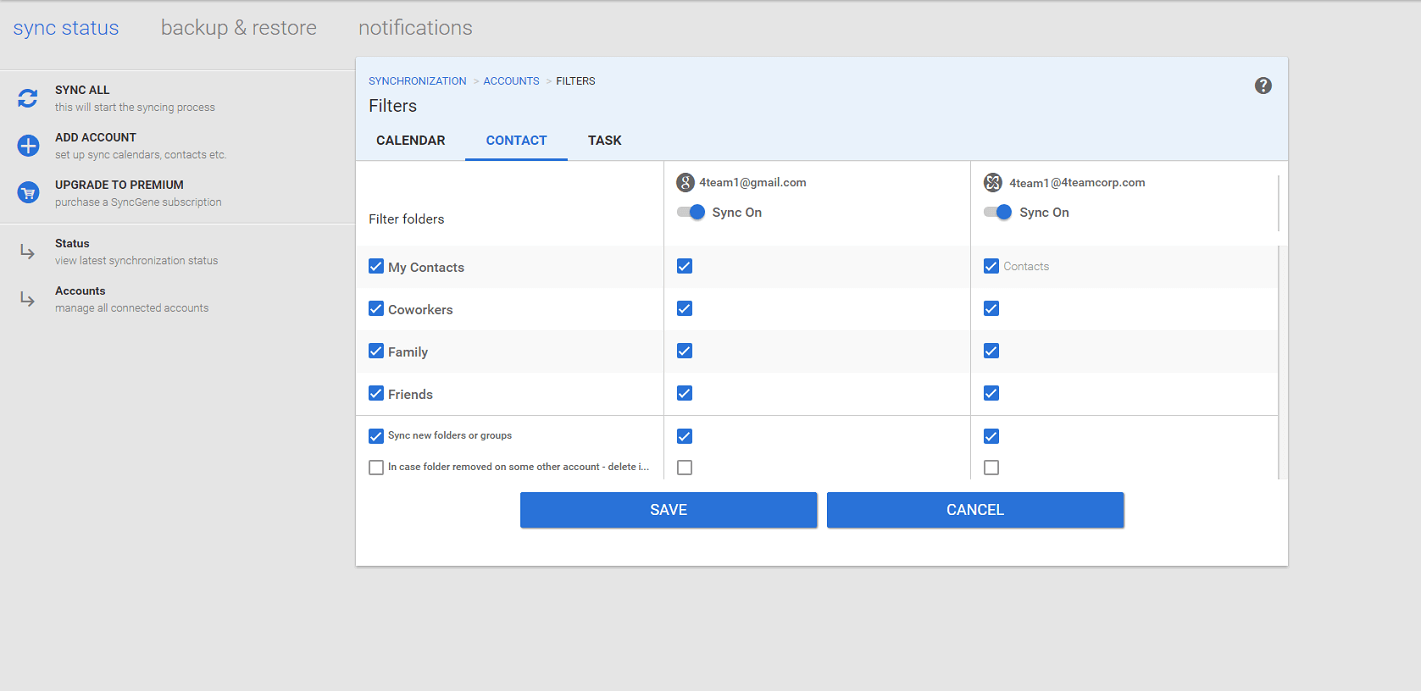
Synchronize contacts
In the Filters dialog select Contacts and choose which folders you want to synchronize.
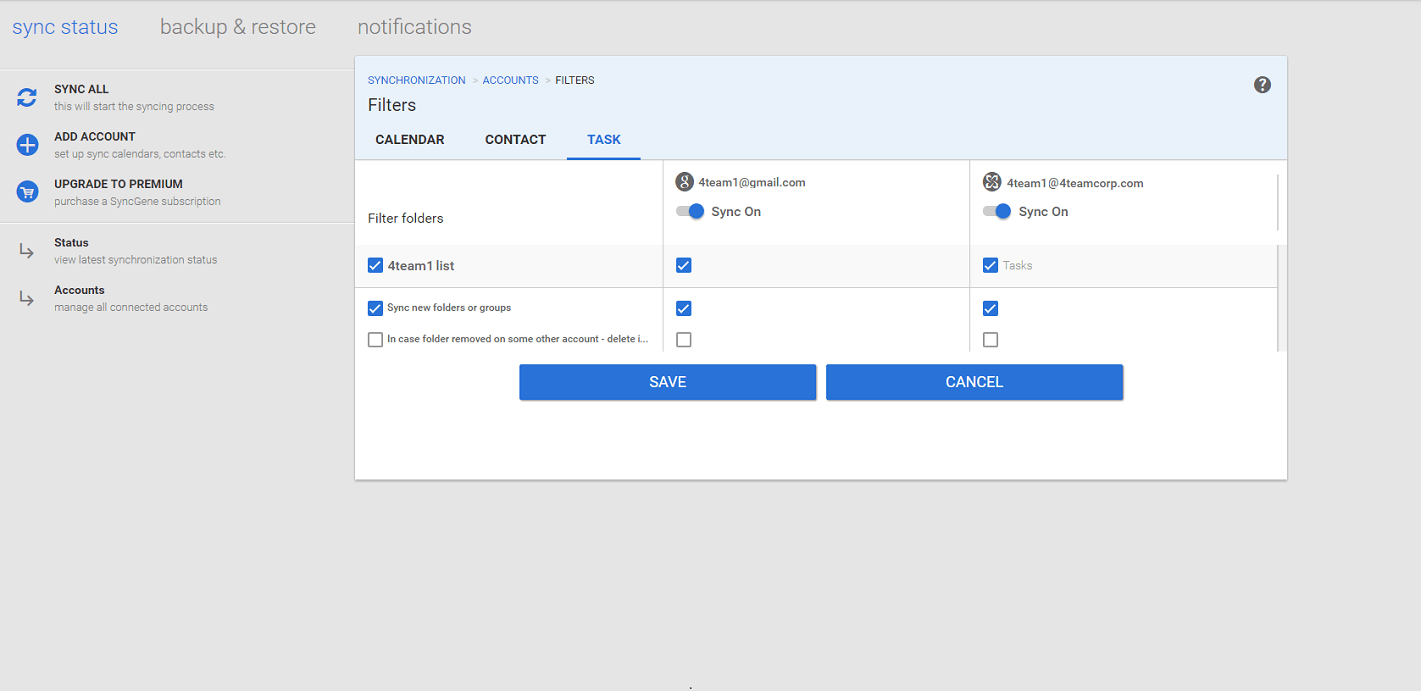
Synchronize tasks
In the Filters dialog select Tasks and choose the specific folders you want to synchronize.
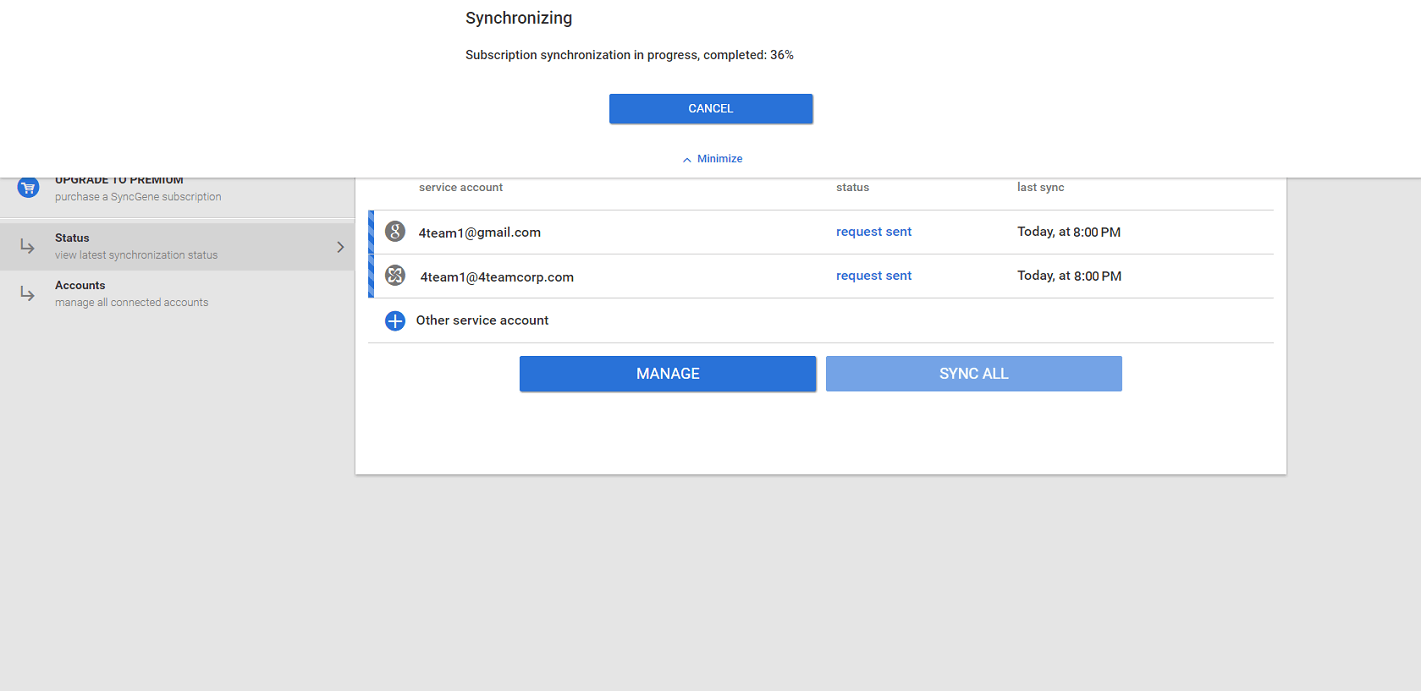
Synchronization progress
You can see your synchronization progress as well as you can cancel synchronization at any time.
Filtered items
If you are using filters on the bottom of “Synchronization Status” tab you will see how many filtered items you are synchronizing and how many unfiltered items are not synchronized.
Synchronization report by type
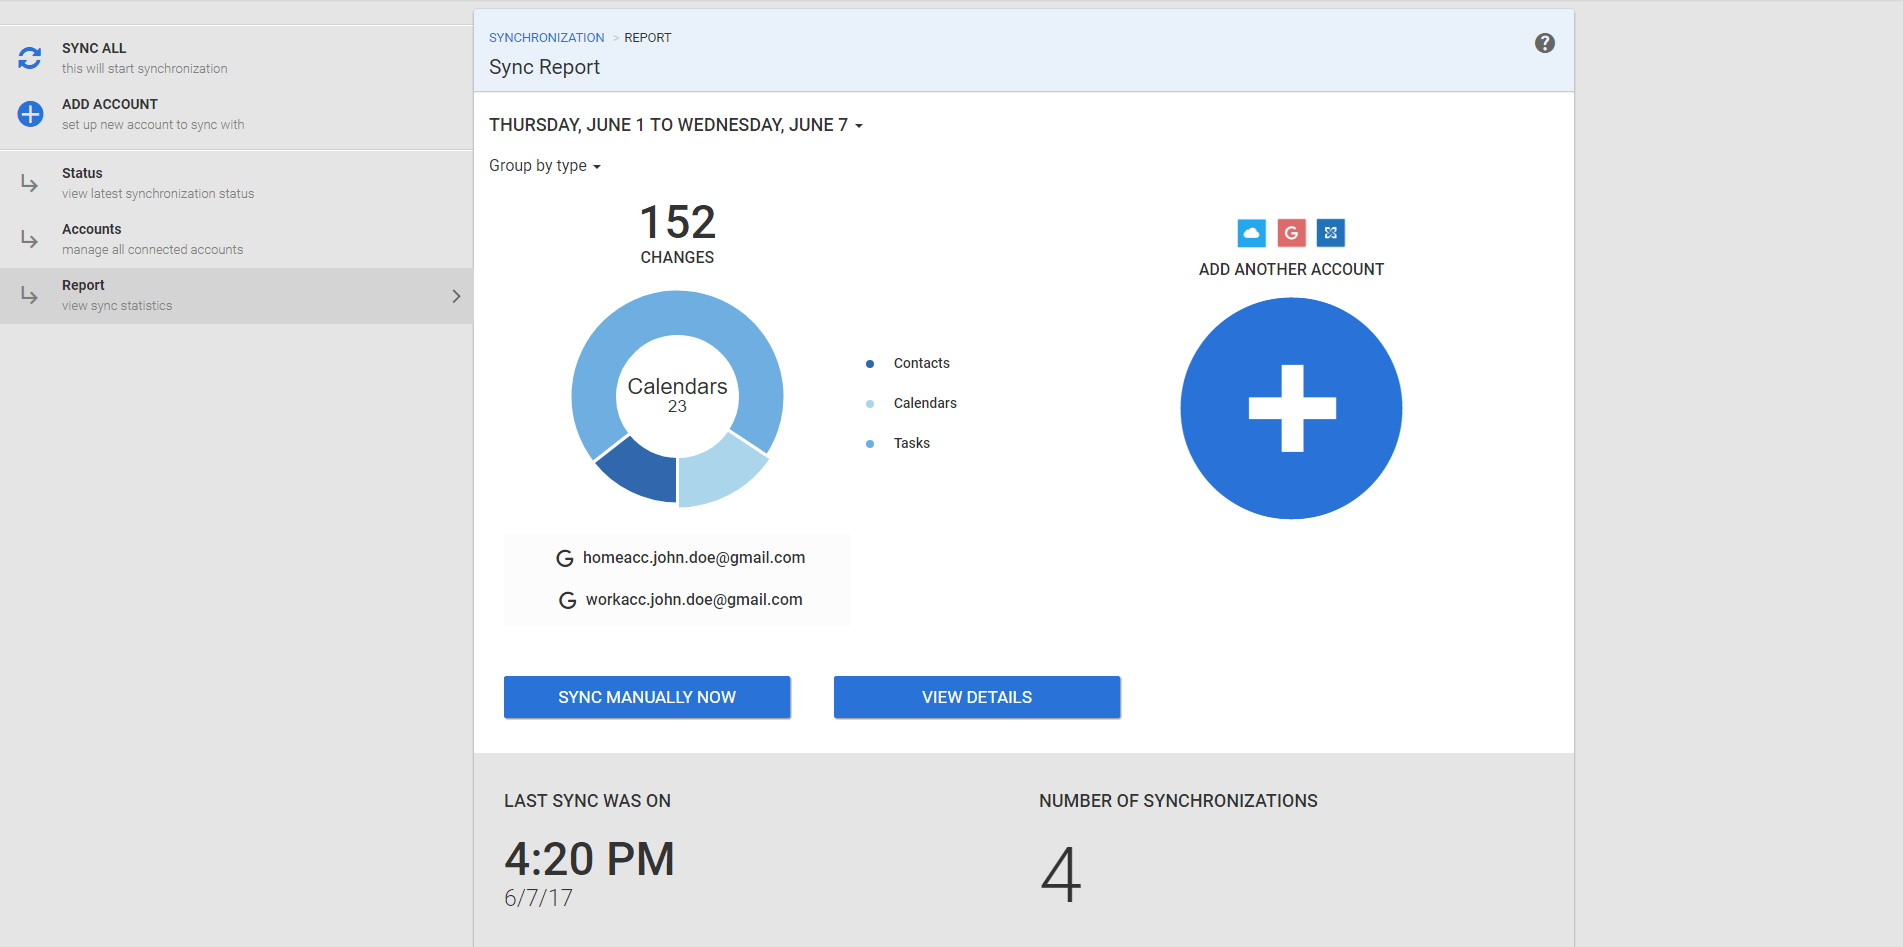
Synchronization report will display the statistics of how many calendar / contacts / tasks items were synchronized during the selected period of time.
Detailed Synchronization report
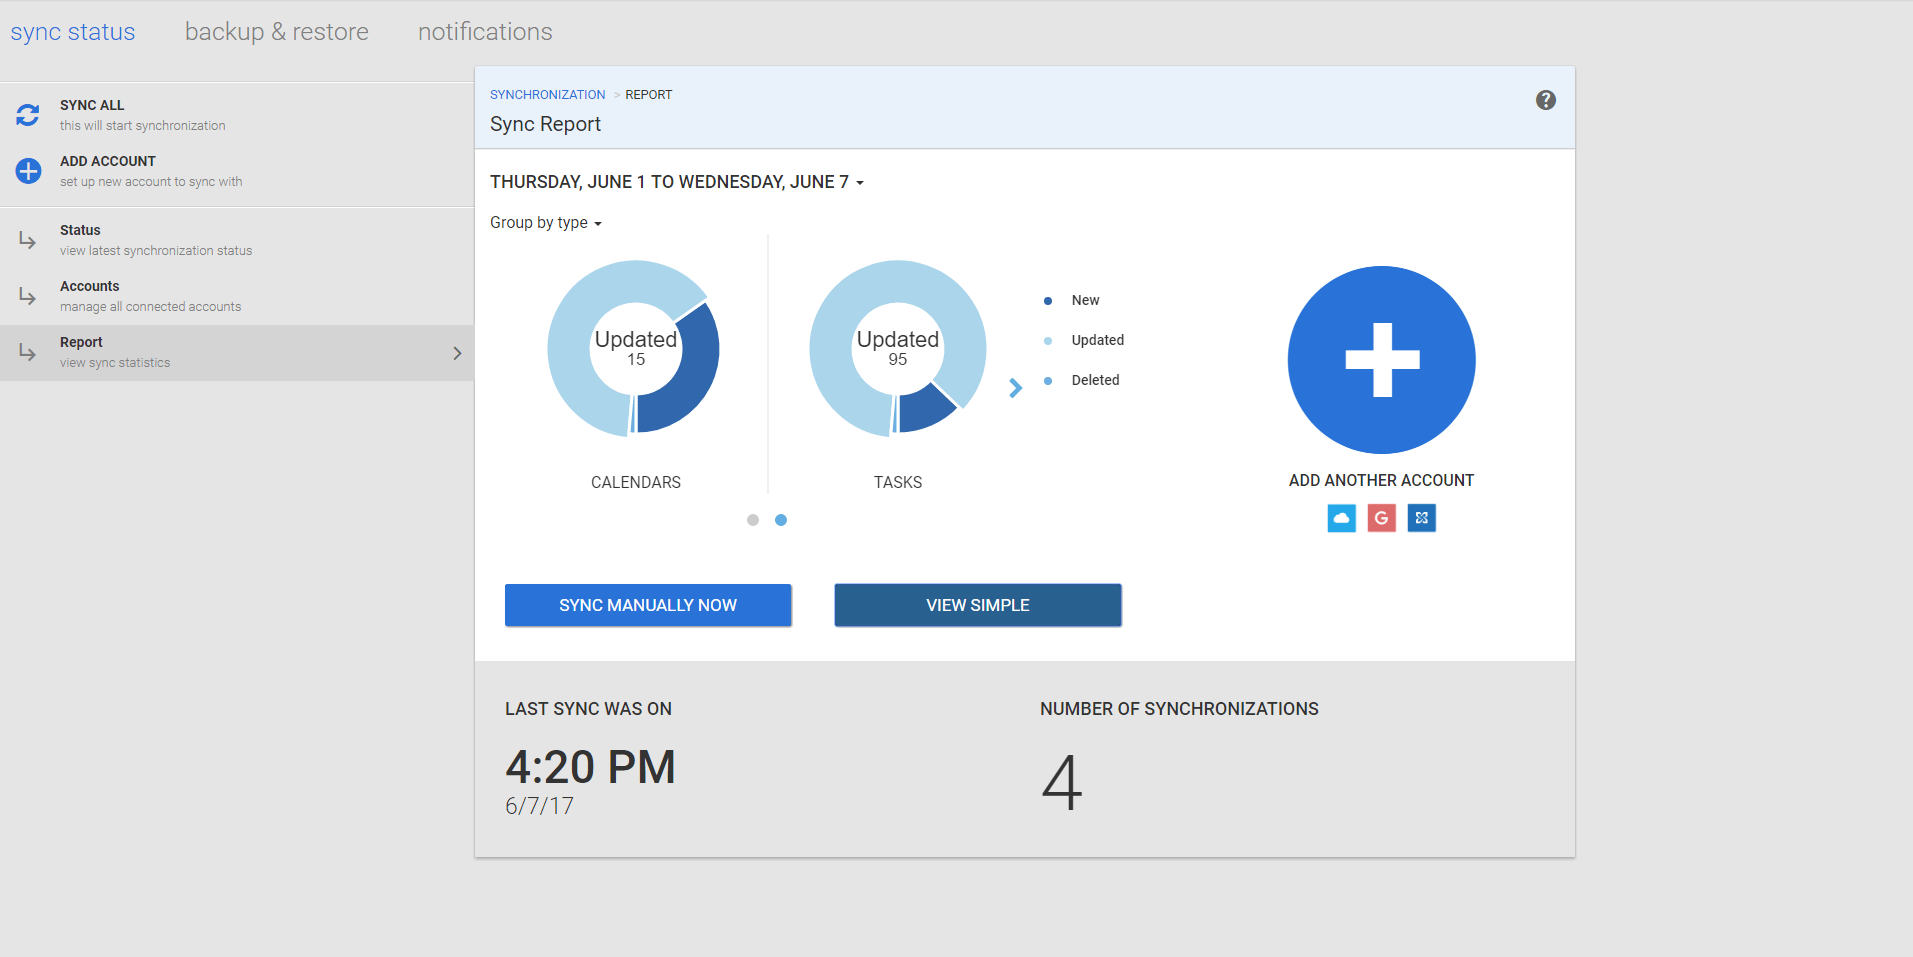
By clicking “VIEW DETAILS” you will be able to see detailed report of how many new items were created, how many items were changed and how many items were deleted in the chosen period.
Synchronization report by account
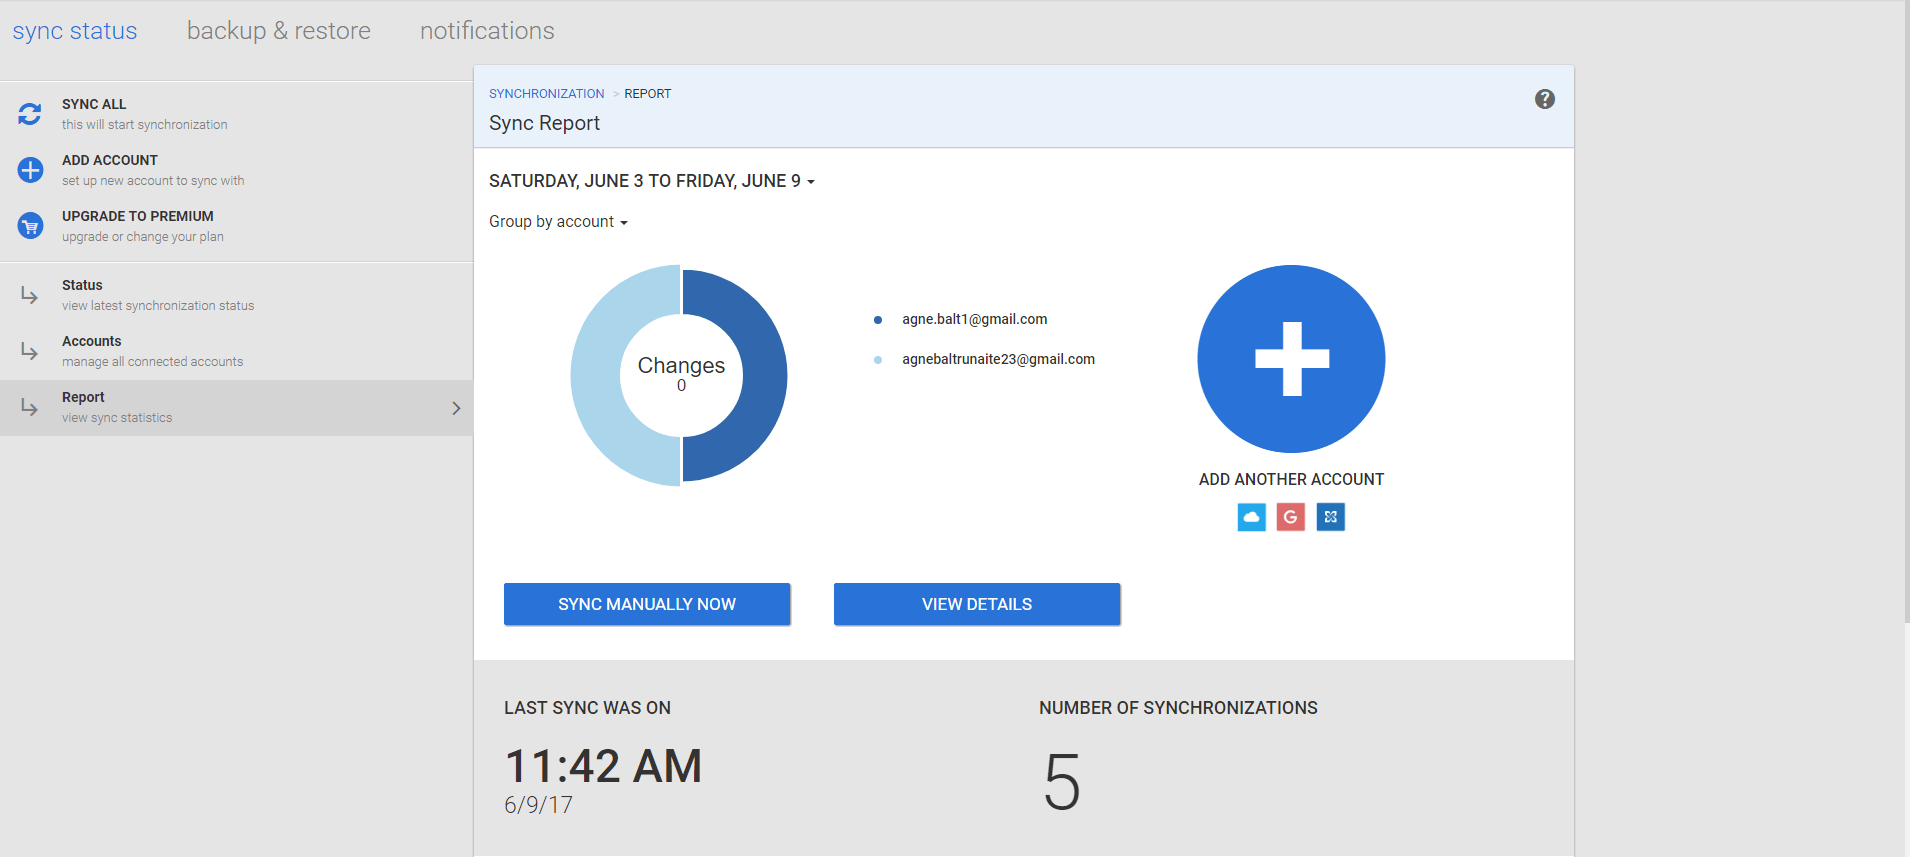
Synchronization report will display the changes made in each account during the selected period of time.
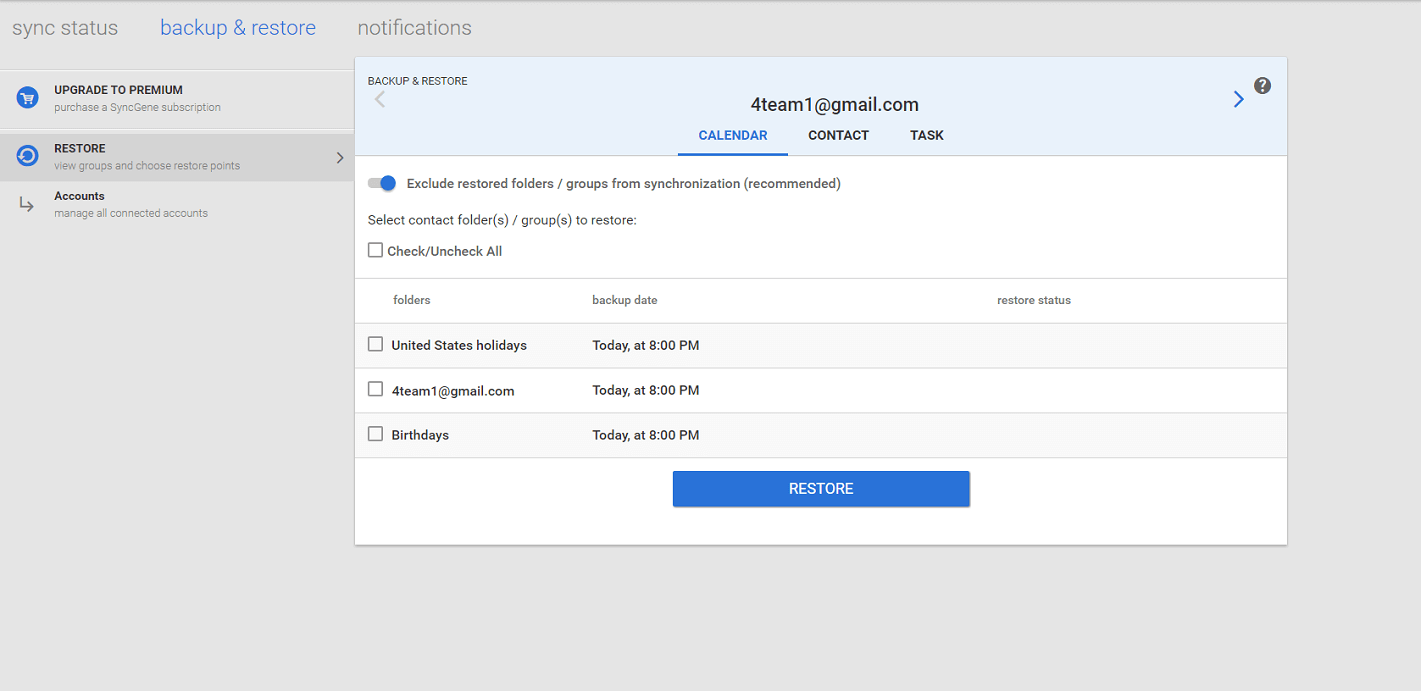
Backup & Restore
If you are not satisfied with the outcome of the synchronization you can back up your data to the point before synchronization.
Share Calendar on any platform
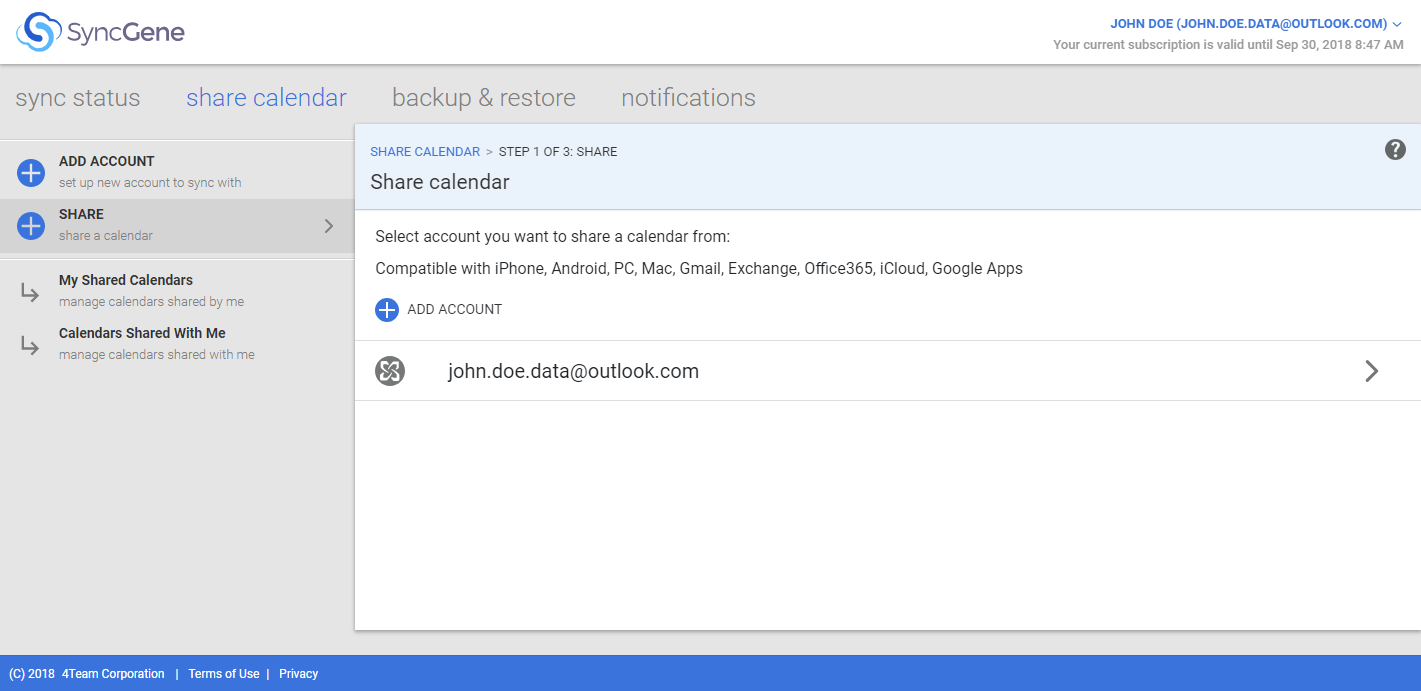
Choose account
In the Share Calendar dialog select account you want to share a calendar from.
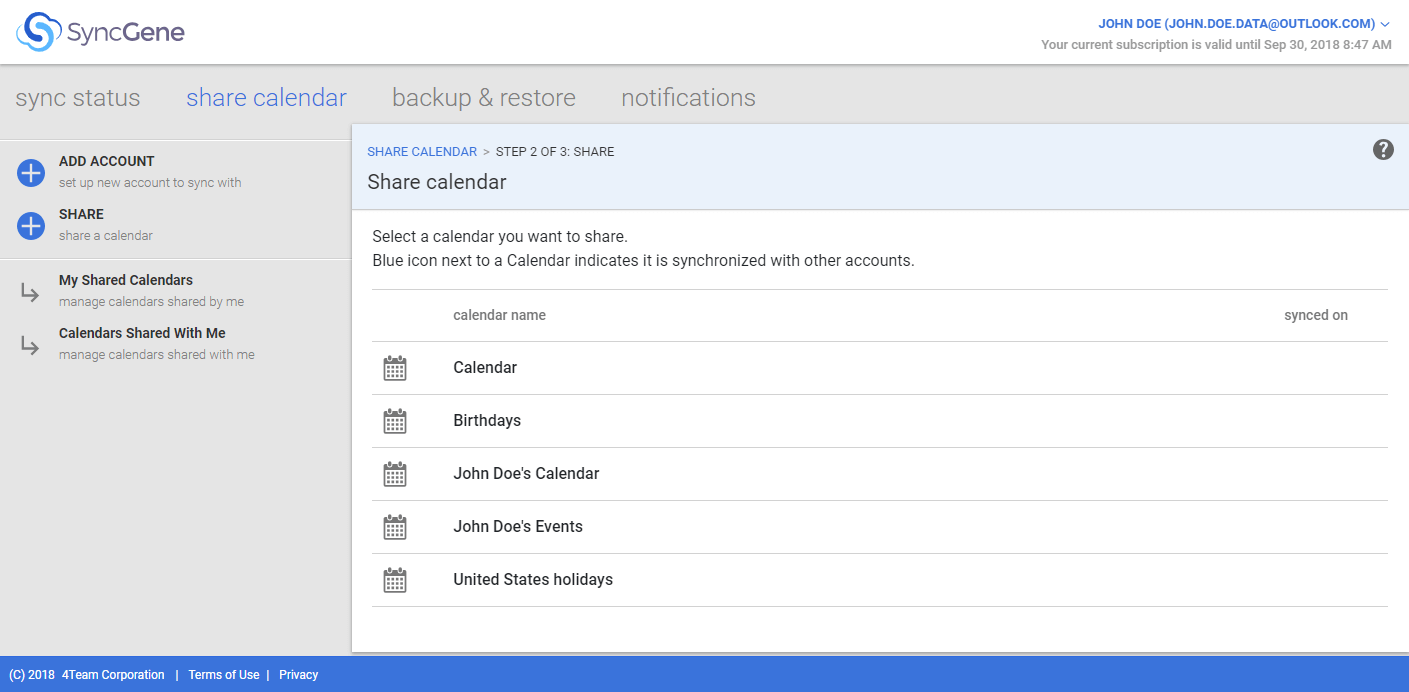
Choose a calendar
In the Share Calendar dialog choose a calendar you want to share with others.
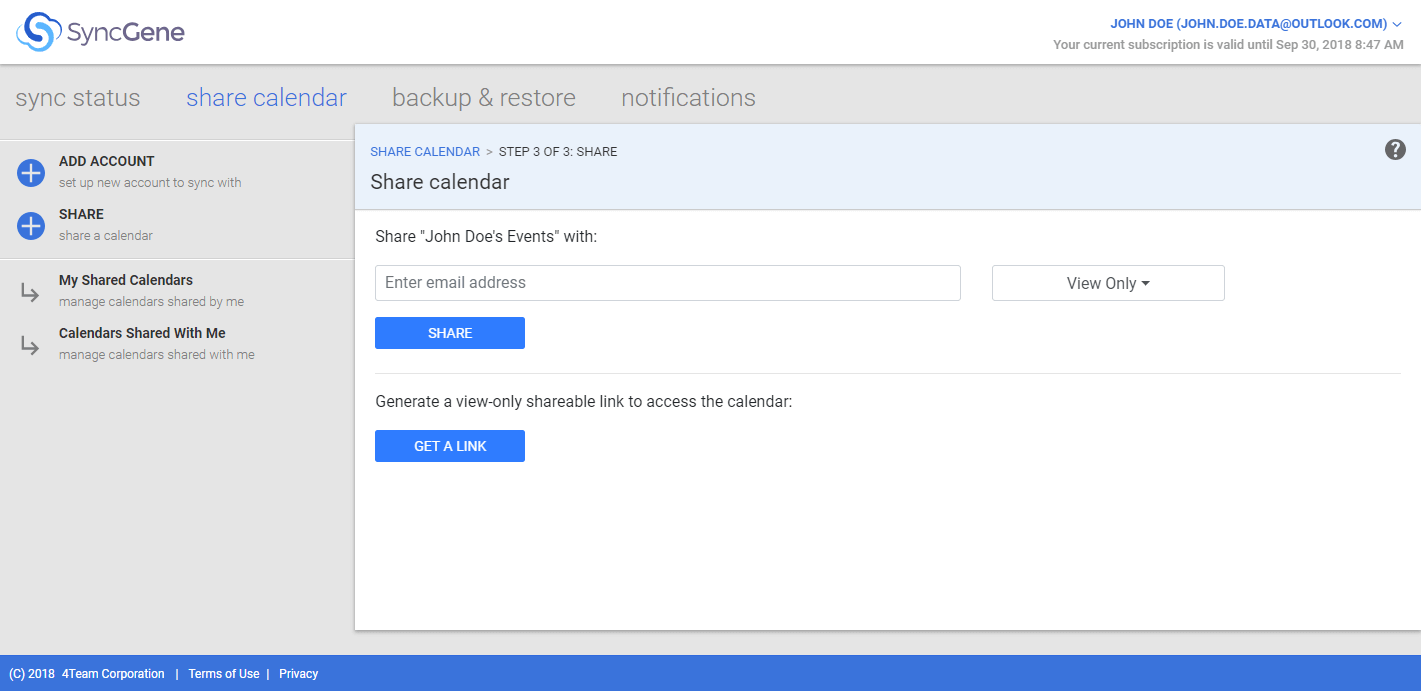
Share Calendar with people
Enter e-mail addresses of people you want to share the calendar with, select sharing permissions. You can also create a shareable link and send it to others using any method you want – messaging app, sms or send it via e-mail.
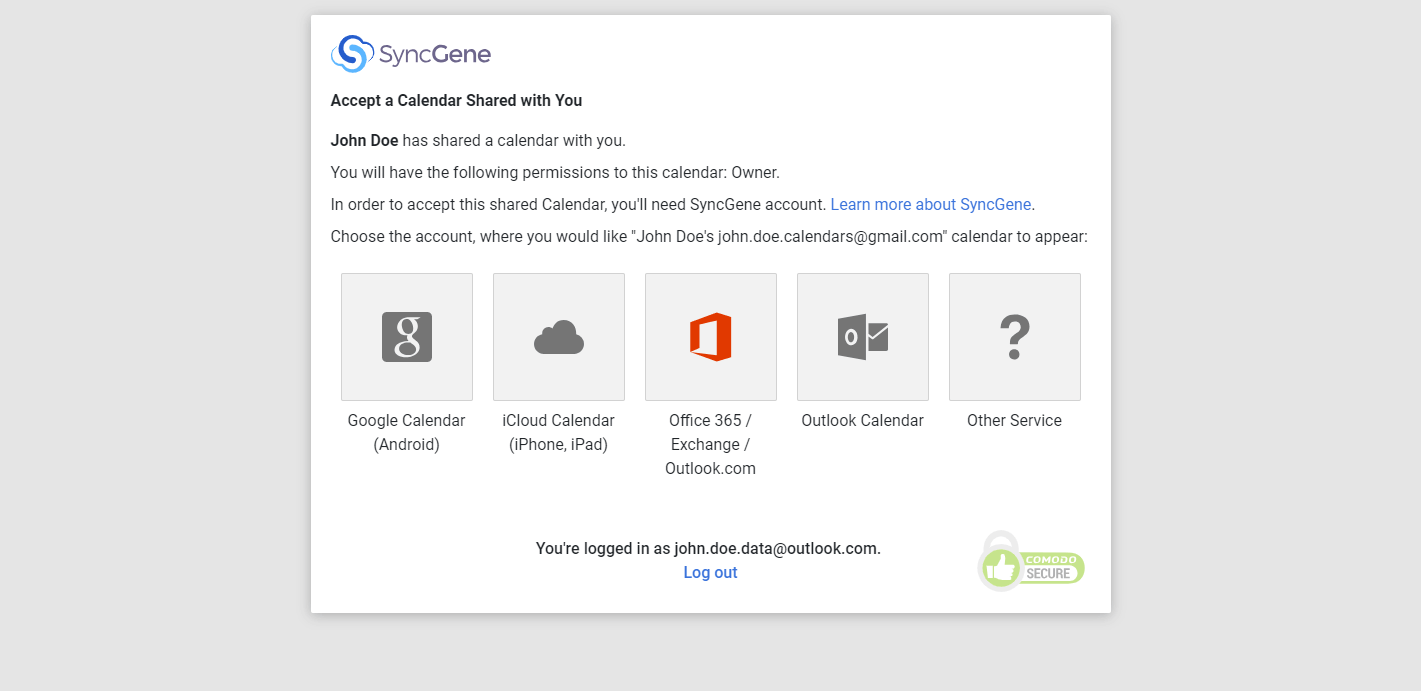
Accept shared calendar
Choose an account / cloud service you want to accept the calendar to.
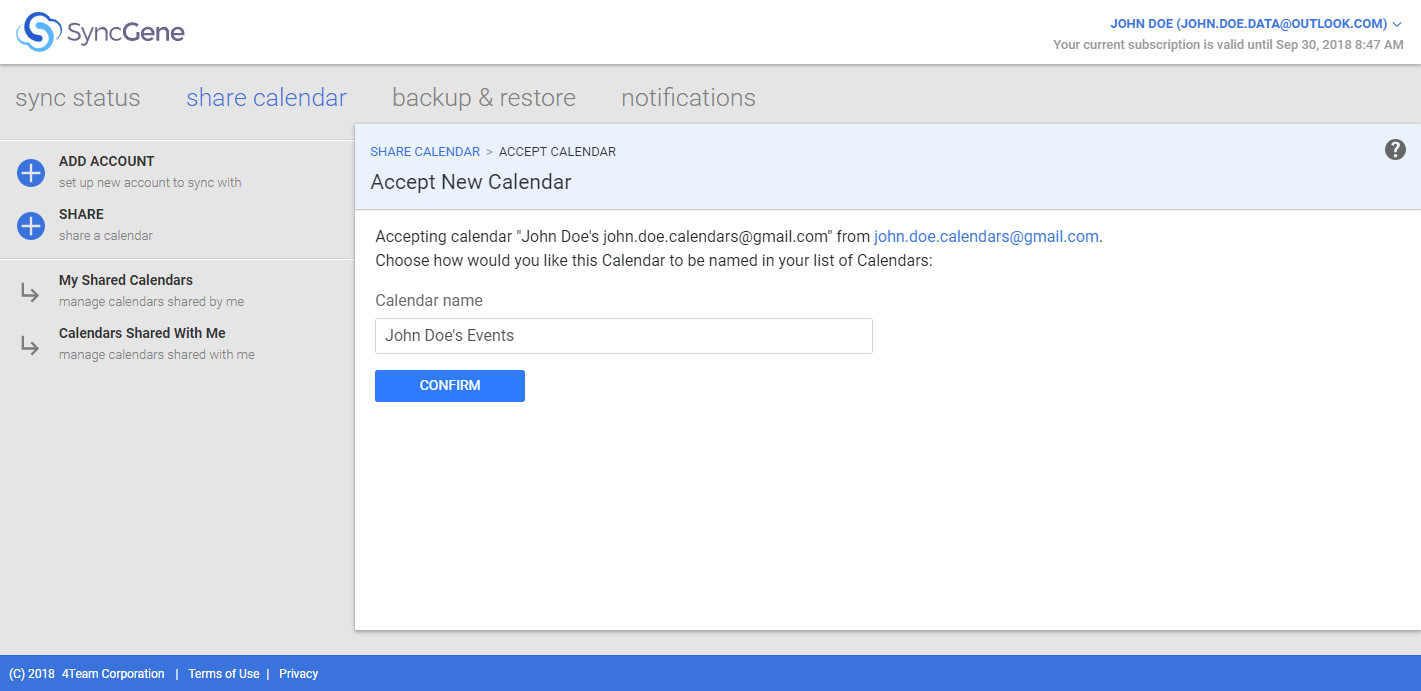
Choose the name of shared calendar
In the Accept Calendar dialog choose how would you like to name shared calendar in your calendars list.
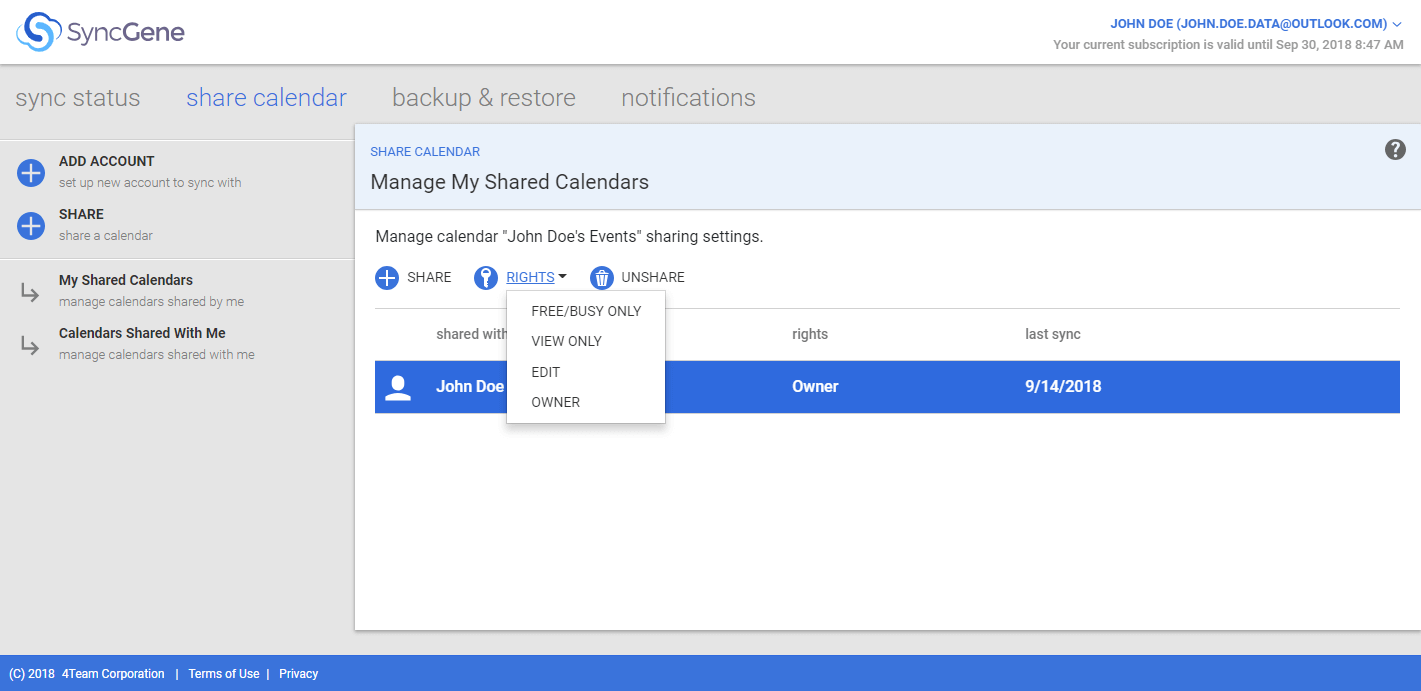
Manage shared calendars
In the Manage My Shared Calendar dialog you can change permissions or cancel calendar sharing for selected people of the selected calendar.

